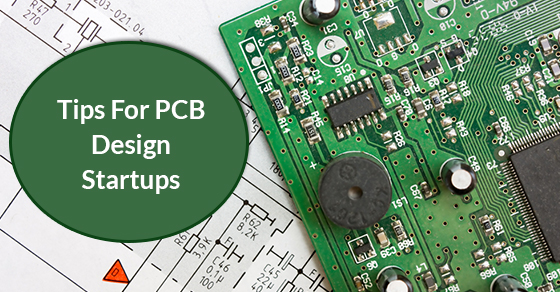
10 Tips For PCB Design Startups
Here are ten useful tips your printed circuit board startup can parlay into a thriving PCB design business.
- Define Your Product. You’ll need to define what problem your product is providing a solution for, what its core features are, its size, who will be using it, and what technologies are needed to make it function.
- Define Your Software. Now that you’ve defined your product, you need to define your software. Will you be managing a specific function through the addition of hardware components? Or, will you use lines of code in the software?
- Design a Representation. Here you will create a graphic that details everything from the library of components (what you’ll need to create the board), to the electrical schematic, to the PCB layout. Be sure to include the entire physical representation of the final circuit (connections, vias, components). It’s crucial in this stage that no detail is left out.
- Make a Prototype. Do you have the tools and know-how to make a prototype of your PCB? If not, it’s time to connect with an electronics manufacturer who does. Because you are a startup, it may be best to work with an electronics manufacturer, because this will be the first PCB you design for your company.
- Visually Inspect the Prototype. When you receive your prototype from the electronics manufacturer, perform a visual inspection. Take a look at each part and make sure that everything is soldered to the pad, and that there are no signs of short-circuits.
- Plug in the Prototype. Following the visual inspection, you can plug in the board to a power connector. Use a current limited power supply to keep any damages to a minimum. When the board is plugged in, examine the quantity of current. If the power supply is able to provide an acceptable amount of current, your PCB is looking good. If not, you will probably see a short-circuit.
- Get Feedback. If everything went well with your plug-in test, get some outside feedback. Ask people who were not involved in the creation of the board to give you their opinion.
- Fix the Issues. Take the feedback and use it to refine your prototype. This is a fairly straightforward process: if something isn’t working, fix it.
- Final Testing. After fixing your board and improving on it, perform one more round of tests (visual and plug-in).
- Start Production. Once you’ve perfected your prototype, visit your electronics manufacturer and start production on a short product run. You can have larger runs later, but for now, you need to keep costs to a minimum. Remember, you are a startup.
0 Comment