How To Troubleshoot A Circuit Board
Circuit board design is a science, and the same can be said for troubleshooting. During the creation of a circuit board, things can go wrong without you even realizing it, which is why you need to troubleshoot.
How to troubleshoot a printed circuit board (PCB):
The tools you’ll need
The complexity of your circuit board design will determine the type of tools you need. However, a multimeter, LCR meter, oscilloscope, power supply and logic analyzer are usually the right tools for the job.
The techniques involved
There are four key techniques used to troubleshoot a circuit board: visual, physical, discrete and IC testing.
-
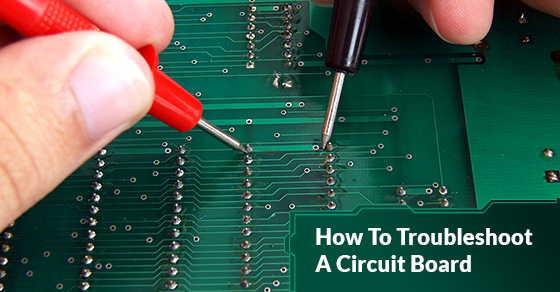
Visual:
When visually inspecting your circuit board, look for overlapped traces, components that have burnt out, missing components, bulging components and signs of overheating. If some components have been burnt by excessive current, they may be harder to identity upon visual inspection, so you may have to actually perform a smell test.
-
Physical:
For this part of the troubleshooting process, you’ll need to power your circuit board. Once powered, you can touch the surface of the board and feel for hot spots. Any hot components can be cooled via compressed canned air. This is very dangerous and should only be performed on low voltage circuits. Be cautious when touching a powered circuit. To prevent shocks, ensure that only one hand makes contact with the board at a time and that the other is in your pocket when you are working with live circuits. To further reduce the potential damage of touching a live circuit, make sure any possible current paths to the ground (your feet, non-resistance grounding/antistatic strap) are secured. When you touch parts of the circuit, it will change the impedance of it, and this could lead to a change in the behaviour of the system. But you can use this to your advantage to determine if there are parts of the circuit that require additional capacitance to function properly.
-
Discrete:
Discrete testing involves testing each individual component (resistor, capacitor, diode, transistor, inductor etc.). Using a multi or LCR meter, check the components to see their functionality.
-
IC testing:
IC (integrated circuit) testing is the hardest technique, but it is needed to compare the behaviours of a circuit to a known good circuit. To check the operational ability of the ICs, you’ll need the oscilloscope and logic analyzer. To find the ICs, look for their distinct markings.
Circuit board design is only the first step in creating your PCB. Once you’ve finished troubleshooting, you can go back and refine your board.